
1..2..3..4..HI-5!! Omg..you don't know how many thousands of times I've heard this song in this short span of being mommy..my two year old loves this Australian band and because of that I decided to make it the theme for her second birthday this year :)

For those who don't know, this is the cartoon version of the Hi-5 band so I based the figurines on them.

These are the girl figurines sans face and clothing

and these are the guys..my favourite is Tim by the way..yeah I'm referring to the second batch of Hi-5ers..They have new members now apparently.. how do I know this? I can't help it, my daughter DEMANDS for the DVDs to be shown everyday and I must admit that I'm a fan too..bahaha..silly stalker mom..

Next up, the clothing and the details that goes with it. This is Fely.

Then the hair..

More details..this is Lauren by the way..I did the rest of the figurines the same way and basically referred to the cartoon pics all the time.

I also wanted to make Jup Jup the annoying creature that stalks Fely in the show. I made his legs using rice crispy treats.

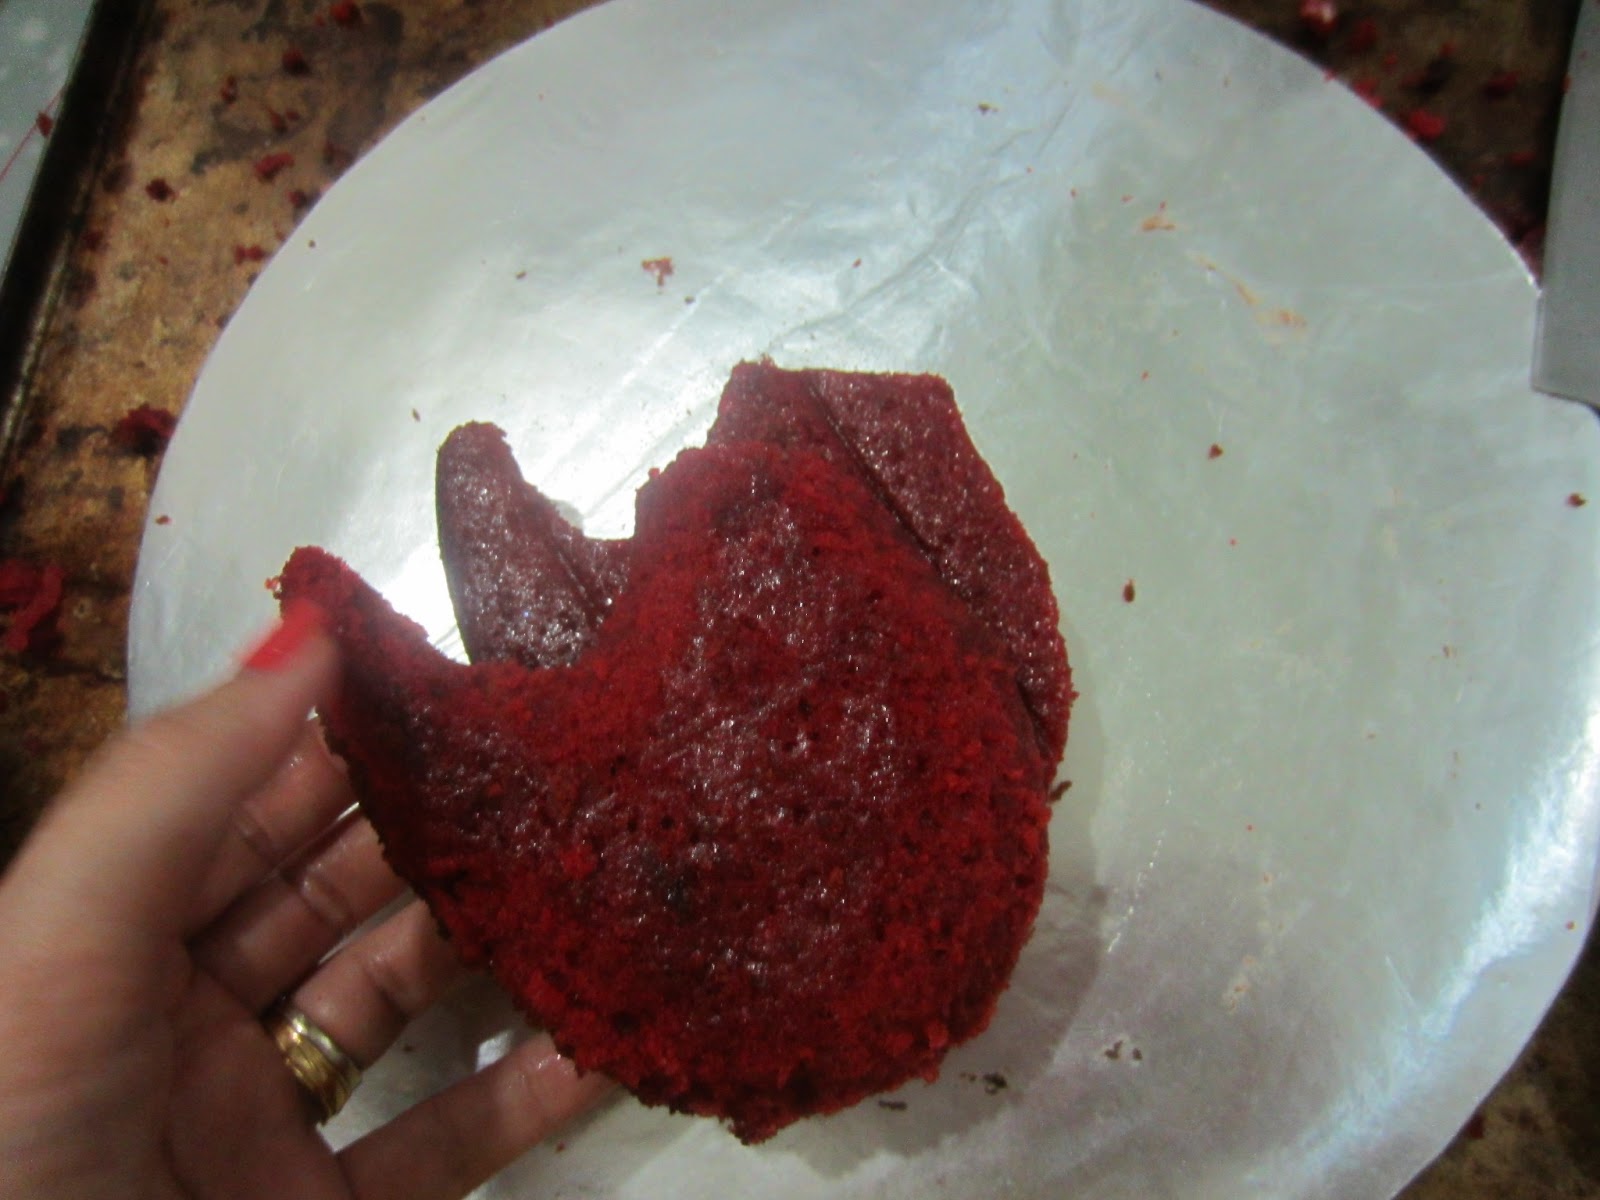
Oooh but we must talk about the cake. These are the new premium flavours that I will introduce soon. This is coconut cake with blueberry and cream cheese filling.

This.. my lovelies is an oreo layer cake which has crushed oreos in two layers of chocolate cake sandwiching a vanilla cake (also with crushed oreos) with cream cheese filling between the layers with..yeah you guessed it..CRUSHED OREOS!!

Then I slather on that wondrous chocolate ganache..mmmehhmmm

Anywhoo..this is Jup Jup all covered with purple fondant. He's made up of butter walnut cake :)

I gave him a face here

Then I stuck on some rice crispy treats on some toothpicks and covered them with green and purple fondant.

I just poked them into Jup Jup's head like so..

There, a full head of ..urmm..hair..

Then I prepared the legs the same way too.

Next up is another favorite character on the show called Ms. Chatterbox or Chatz. Here you see her neck which is covered in yellow fondant and is appropriately made up of a delightfully fresh lemon cake with lemon curd filling.


Next is the round cake with colourful hands all over the cake. I found these cute hand shaped cutters at my bakery supply shop and I had to get them for this cake!

Then I made the Hi-5 logo
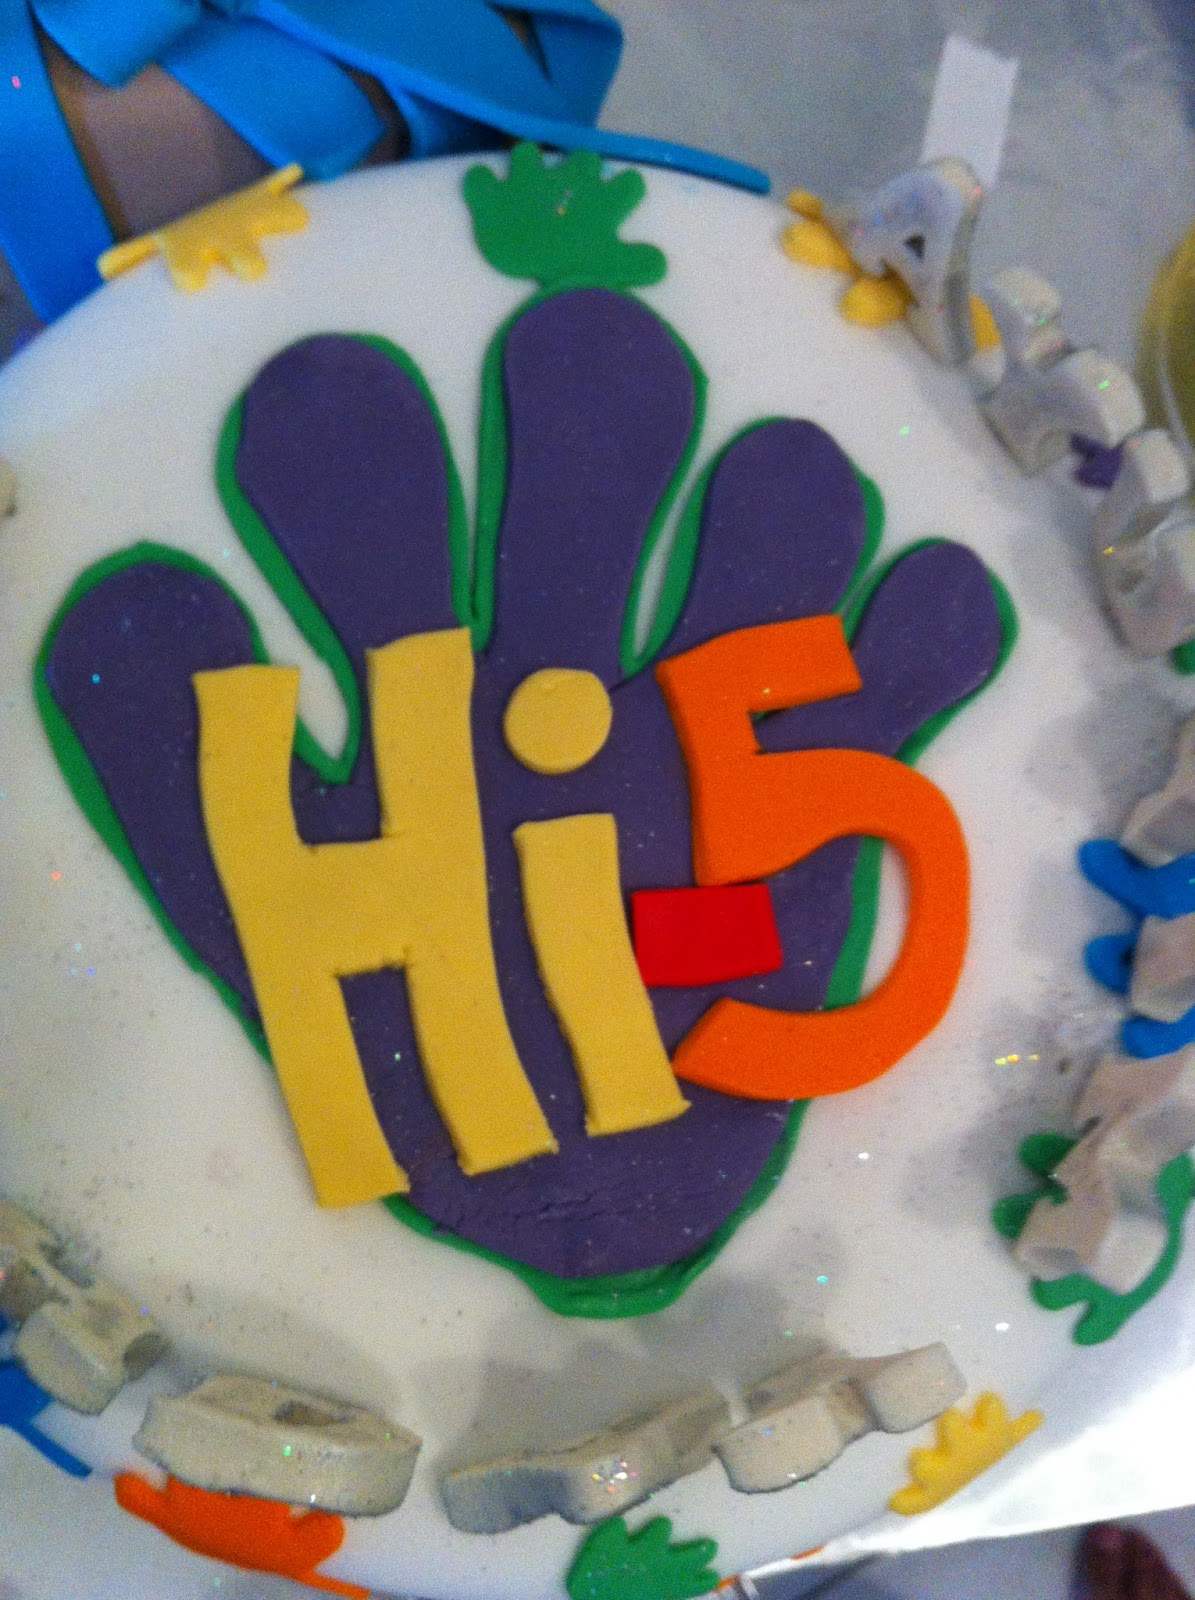
Not my finest work,,but it was a personal cake so..what the heck!

Here I made a Happy Birthday message using gum paste and sticking some silver glitter on the individual alphabets.

This is where I placed the figurines. here you can see Tim, Lauren and Casey.

..and here Stevie and Fely!
Here's the pic of the combined cakes at my daughter's party. All and all there were 5 flavours so it was really a challenge in the sense that I had to bake so many flavours at once! There was coconut cake with blueberry cream cheese filling, lemon cake with lemon curd filling, butter walnut cake with mocha buttercream, funfetti cake (vanilla cake with colourful sprinkles baked into it) with raspberry buttercream and last but not least the crushed oreo cake with crushed oreo cream cheese filling!...faint...

One last look at the Hi-5ers..

Jup-Jup...
and Chatz!!

Got some cute stickers to stick on the board and there you have it mate! A Hi-5 themed birthday cake for my 2 year old daughter Aurora Minuya..anything for my cutie pie :)