
I seem to be getting a lot of requests for ball cakes somehow and this post will be about a basketball!
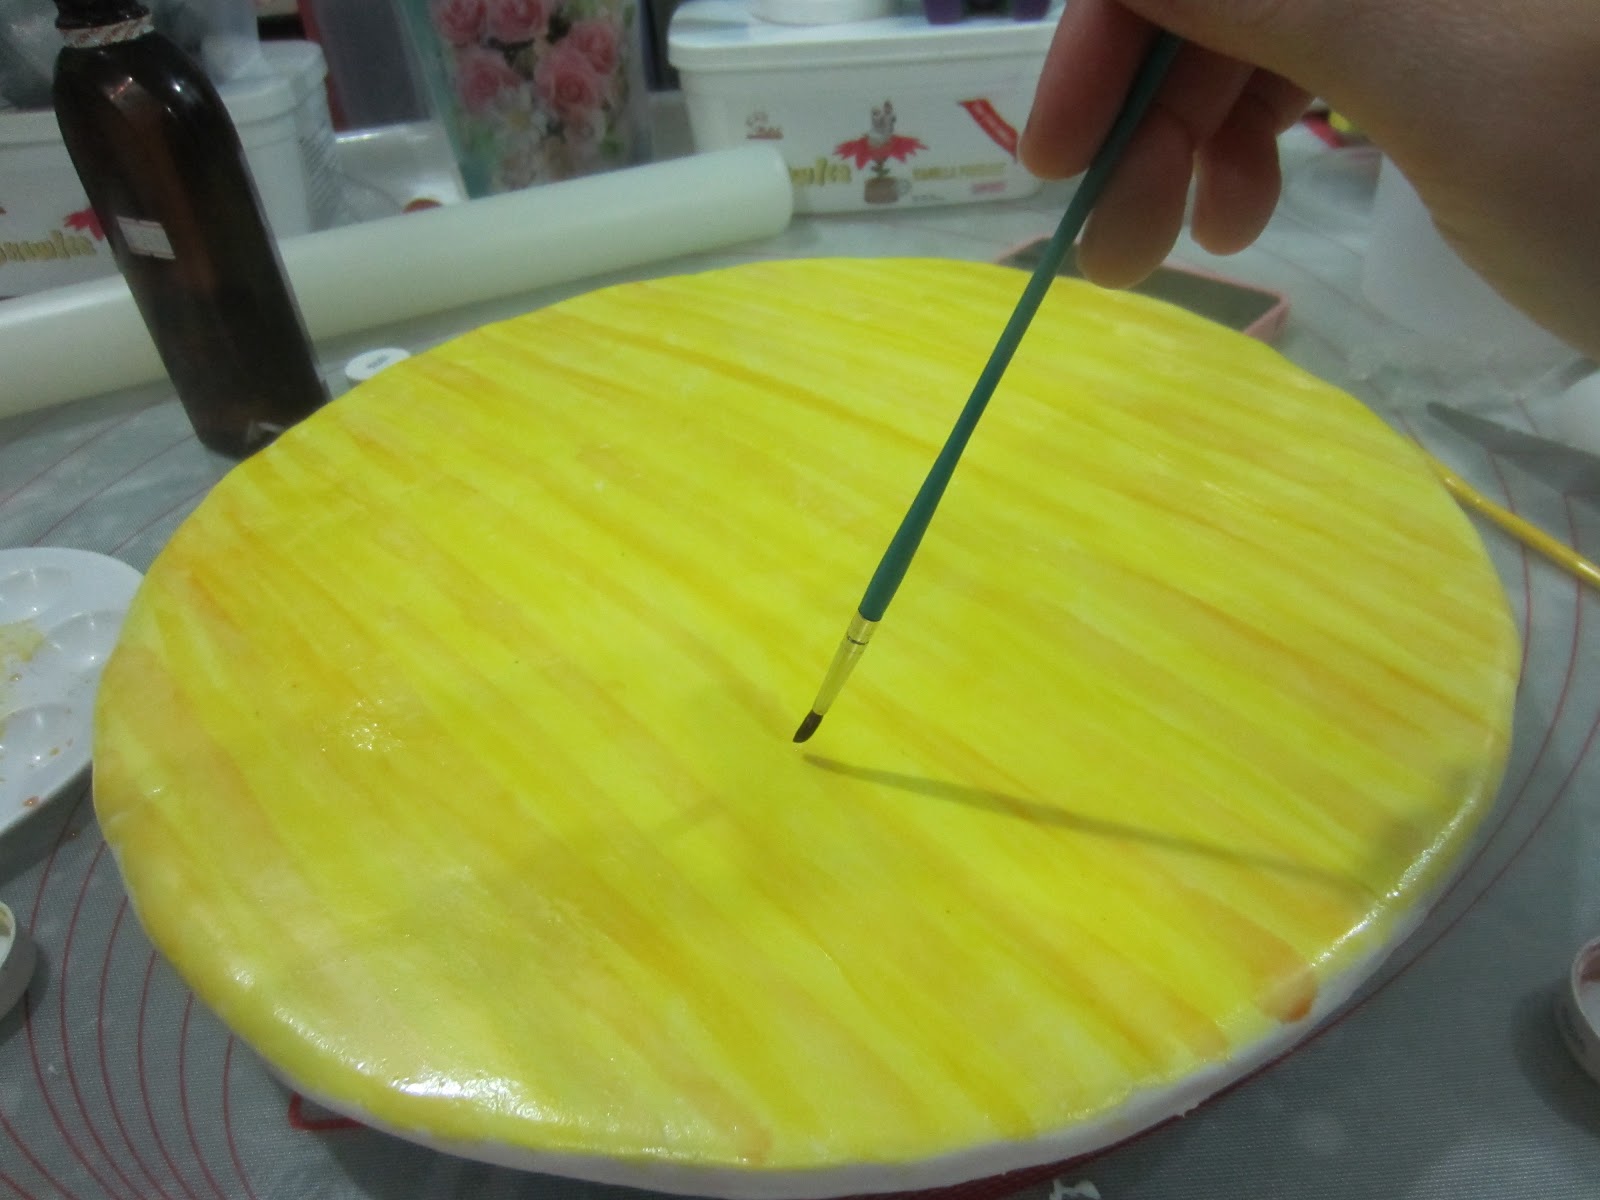
First of all, I created the base board for this cake. I needed to replicate the floor of a basketball court so I decided to paint on the colours. First, I painted a yellow base and added strokes of light brown lines on top of it.

This is how it looked like once done and I let it dry overnight.

While waiting, I needed to create the 'SPALDING' logo using dark chocolate fondant using the pin prick method.

This is the result of the tedious process :) After cutting it out carefully, I let it dry for a bit.

Next I painted on the NBA logo.

The cake flavour was butter walnut. I used the Wilton soccer pan to created the ball and had to bake an extra round cake to create a perfectly round basketball. A lot of carving work was done and took the longest to complete.

Once crumb coated, I covered it with orange coloured fondant.

Perfectly covered, I began decorating by making indentation marks on the surface of the ball.

I then painted black food colouring along the indentation lines.

Finally I stuck on the logos.

Side view

Basketball cake done worthy of NBA!! Thanks all for reading!
Did you use a round cake board and dowel rod in the middle of the cake so it wouldn't sink?
ReplyDeleteActually,I just stacked the two halves together without any round cake board in the middle. The cake was a butter walnut one so I guess the nuts made the cake sturdy enough to withstand the weight from the upper half of the cake. I reckon that if you put a round cake board in the middle, the cake would be even more stable. I just didn't want to add on more weight because the cake was already quite heavy.
ReplyDeleteHowever I did insert a dowel rod through the middle so that the two halves won't get separated or move around when I applied the crumbcoat. :)